

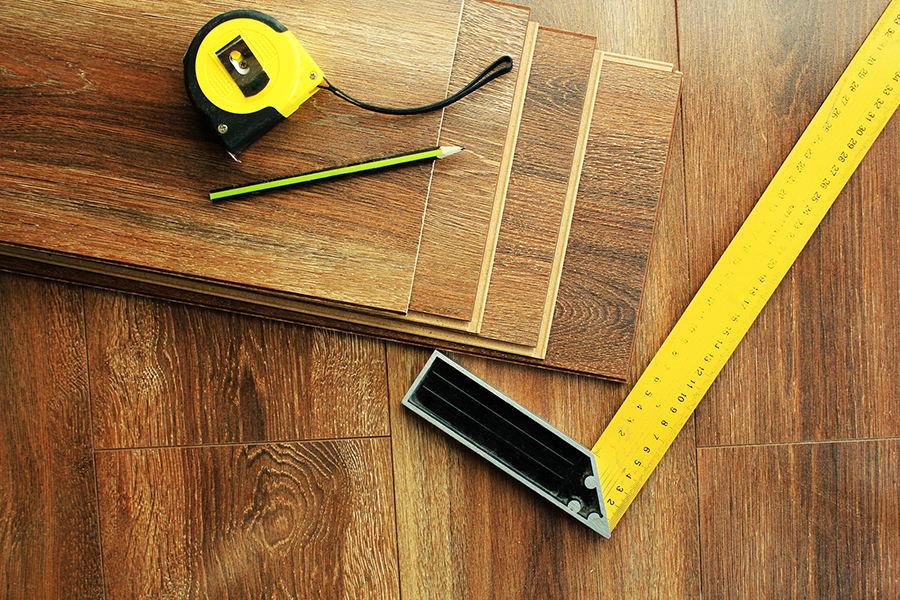
Laminate flooring is one of the most popular choices for homeowners in Virginia Beach, Chesapeake, Norfolk, Portsmouth, and Suffolk thanks to its durability, affordability, and wood-look style. Whether you're upgrading a single room or your entire home, understanding the installation process can help you make informed decisions.
At Wood Brothers Carpet, many homeowners ask whether laminate flooring installation is something they can handle themselves or if it’s better to hire a professional. This guide walks you through the full process—from subfloor preparation to finishing touches—along with tips for DIY projects and when to bring in an expert.
Why Proper Laminate Installation Matters
Laminate flooring is designed to be durable and long-lasting, but improper installation can lead to:
Gaps between planks
Uneven surfaces
Moisture-related issues
Premature wear
In coastal areas like Virginia Beach and Norfolk, proper installation is especially important due to humidity and moisture considerations.
Step 1: Prepare the Subfloor
A successful laminate floor installation starts with a properly prepared subfloor.
Key Preparation Steps
Remove existing flooring if necessary
Ensure the subfloor is clean, dry, and level
Repair any damage or uneven areas
Check for moisture, especially in coastal homes
Subfloor preparation is one of the most important steps. Even minor imperfections can affect how laminate planks lock together and perform over time.
Step 2: Acclimate the Laminate Flooring
Before installation, laminate flooring should acclimate to your home’s indoor environment.
Why Acclimation Matters
Allows planks to adjust to temperature and humidity
Reduces expansion and contraction after installation
Helps prevent buckling or gaps
In Virginia Beach and surrounding areas, acclimation is especially important due to fluctuating humidity levels.
Typically, laminate should sit in the room for 48 to 72 hours before installation.
Step 3: Install Underlayment
Underlayment is installed between the subfloor and laminate planks.
Benefits of Underlayment
Provides moisture protection
Reduces noise
Adds comfort underfoot
Some laminate products include attached underlayment, while others require a separate layer.
Step 4: Plan the Layout
Before installing planks, it’s important to plan the layout.
Layout Considerations
Start along the longest, straightest wall
Stagger plank joints for a natural look
Measure the room to avoid narrow end pieces
Leave expansion gaps around edges
Proper planning ensures a professional-looking finished floor.
Step 5: Install the Laminate Planks
Laminate flooring typically uses a click-lock system, making installation more straightforward than traditional hardwood.
Installation Process
Place the first row of planks along the wall
Use spacers to maintain expansion gaps
Click and lock each plank into place
Continue row by row, staggering seams
Cut planks as needed to fit edges and corners
Take your time during this step to ensure each plank is securely connected.
Step 6: Install Trim and Finishing Pieces
Once the flooring is installed, finishing touches complete the project.
Common Finishing Elements
Baseboards or quarter round
Transition strips between rooms
Stair nosing if applicable
These details give your floor a polished, professional appearance.
DIY Laminate Installation Tips
Many homeowners in Chesapeake and Suffolk consider installing laminate flooring themselves. While laminate is more DIY-friendly than hardwood, it still requires careful attention to detail.
Helpful tips include:
Use proper tools for cutting planks
Double-check measurements before cutting
Work slowly to ensure tight seams
Avoid forcing planks into place
DIY installation can work well for smaller, straightforward spaces—but larger or more complex layouts may be more challenging.
When to Hire a Professional Installer
There are situations where hiring a professional installer is the better choice.
Consider professional installation if:
Your subfloor needs repair or leveling
You’re installing flooring across multiple rooms
Moisture conditions are a concern
You want a faster, hassle-free process
Professional installers ensure the job is done correctly the first time, helping you avoid costly mistakes.
If you're unsure whether to DIY or hire a pro, Contact Wood Brothers Carpet to discuss your project and get expert advice.
Benefits of Professional Laminate Installation
Working with experienced installers offers several advantages:
Proper subfloor preparation
Accurate installation techniques
Faster project completion
Long-term performance and durability
In high-traffic homes across Virginia Beach and Norfolk, professional installation can make a significant difference in how well your floors hold up over time.
Final Thoughts
Laminate flooring installation is a great way to upgrade your home with a durable and attractive flooring solution. While the process is relatively straightforward, attention to detail at every step—from subfloor preparation to finishing trim—is essential for long-term success.
If you're planning a laminate flooring project in Virginia Beach, Chesapeake, Norfolk, Portsmouth, or Suffolk, the team at Wood Brothers Carpet is here to help.
You can request a free estimate to get a detailed plan for your laminate flooring installation.
To explore laminate styles and speak with a flooring expert in person, we invite you to visit the Wood Brothers Carpet showroom and find the perfect flooring solution for your home.