

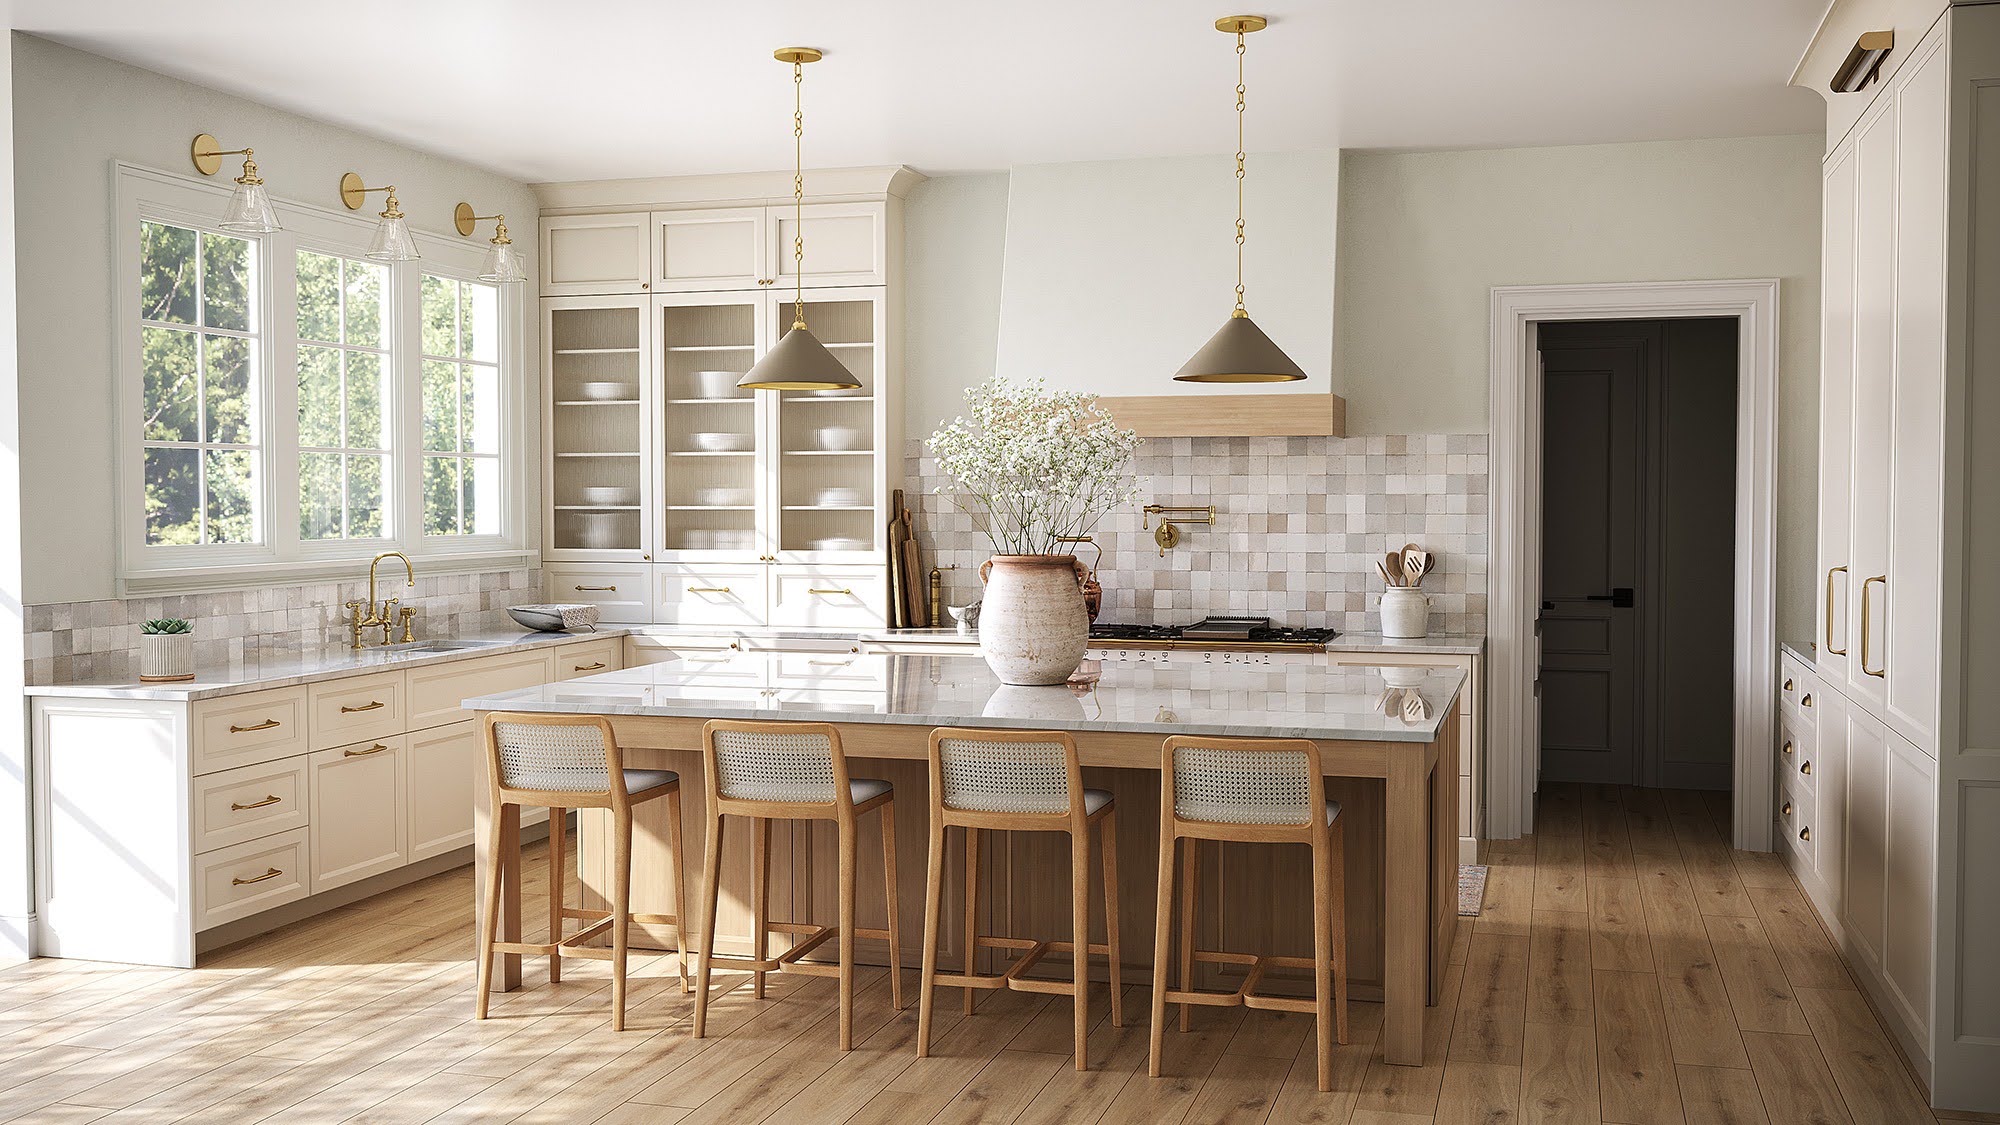
Installing hardwood flooring is one of the most exciting home improvements you can make. Hardwood adds warmth, character, and lasting value while transforming the appearance of your living space. Whether you're updating a single room or replacing flooring throughout your home, understanding the installation process can help you feel prepared and confident.
At Wood Brothers Carpet, homeowners throughout Chico, Paradise, Durham, Oroville, Magalia, Orland, Corning, and Forest Ranch often ask what happens during a hardwood flooring installation project. While every home is unique, most hardwood installations follow a similar process from planning and preparation through final walkthrough.
Here's what you can typically expect when installing new hardwood flooring.
Step 1: Choosing the Right Hardwood Flooring
Before installation begins, you'll need to select the hardwood flooring that best fits your home and lifestyle.
Key decisions include:
Solid hardwood vs. engineered hardwood
Wood species
Color and stain preferences
Plank width and length
Finish type
Many homeowners begin by exploring hardwood flooring options and comparing styles that complement their home's design.
A flooring specialist can help you evaluate factors such as traffic levels, pets, children, and subfloor conditions to determine which hardwood product is the best fit.
Step 2: In-Home Measurements and Project Planning
Accurate measurements are critical for a successful installation.
During the planning stage, your flooring professional may evaluate:
Room dimensions
Existing flooring materials
Subfloor condition
Door clearances
Transitions between rooms
Stairway requirements
Proper planning helps minimize surprises and ensures the correct amount of flooring material is ordered.
Many homeowners find it helpful to schedule an in-home flooring consultation to review product samples and discuss project details.
Step 3: Hardwood Acclimation
Before installation, hardwood flooring typically needs time to acclimate to your home's environment.
Wood naturally expands and contracts based on temperature and humidity levels. Acclimation allows the flooring to adjust before installation begins.
Depending on the product, acclimation may involve:
Storing flooring in the installation area
Maintaining normal indoor temperatures
Allowing sufficient adjustment time before installation
Skipping this step can increase the risk of future gaps, expansion issues, or movement within the floor.
Step 4: Preparing the Installation Area
Prior to installation day, rooms must be prepared.
This often includes:
Removing furniture
Clearing closets
Taking down fragile wall décor
Ensuring access to the work area
Homeowners may also want to make arrangements for children and pets during the installation process to maintain a safe work environment.
Proper room preparation helps the project proceed more efficiently.
Step 5: Removal of Existing Flooring
If old flooring is present, it will typically need to be removed before the new hardwood can be installed.
Depending on the situation, installers may remove:
Carpet
Laminate
Vinyl flooring
Existing hardwood
Tile flooring
After removal, the subfloor is inspected to identify any issues that need correction before installation begins.
Step 6: Subfloor Inspection and Preparation
The subfloor serves as the foundation for your hardwood flooring.
Before installation, professionals assess:
Structural integrity
Moisture levels
Floor flatness
Squeaks or movement
Damage or deterioration
Subfloor preparation may include:
Leveling uneven areas
Repairing damaged sections
Moisture testing
Cleaning debris
This step plays a major role in the long-term performance of the finished floor.
Homeowners can learn more about installation preparation through our flooring services.
Step 7: Installing the Hardwood Flooring
Once preparation is complete, installation can begin.
The installation method depends on the flooring product and subfloor type.
Solid Hardwood Installation
Solid hardwood is commonly:
Nailed down
Stapled down
These methods provide a secure installation and are often used over wood subfloors.
Engineered Hardwood Installation
Engineered hardwood may be:
Nailed down
Glued down
Floated
Its versatility makes it suitable for a wider range of installations and subfloors.
During installation, flooring professionals carefully arrange planks to create a balanced and natural appearance throughout the space.
Step 8: Installing Moldings and Transitions
After the hardwood flooring is installed, finishing details are added.
These may include:
Baseboards
Quarter round molding
Thresholds
Transition strips
Stair nosing
These finishing touches help create a polished appearance while covering expansion gaps and transitions between flooring surfaces.
Step 9: Final Cleaning and Inspection
Before the project is completed, installers perform a final cleanup and inspection.
This process typically includes:
Removing debris
Cleaning the flooring surface
Verifying installation quality
Reviewing finished work
Homeowners often have the opportunity to walk through the project and ask questions before completion.
What to Expect After Installation
New hardwood flooring may require a brief adjustment period as it settles into the home's environment.
Homeowners may notice:
Minor seasonal movement
Natural changes in wood appearance
Variations in grain and color
These characteristics are normal and part of the beauty of real hardwood.
Your installer can provide care and maintenance guidelines to help protect your investment.
Hardwood Flooring Care Tips
Proper maintenance can help hardwood flooring look beautiful for many years.
Key recommendations include:
Sweeping regularly
Using manufacturer-approved cleaners
Cleaning spills promptly
Adding protective pads beneath furniture
Preventative maintenance helps reduce wear and preserve the floor's finish.
Common Questions Homeowners Ask
Will Installation Be Noisy?
Yes, some noise is expected, particularly during flooring removal and subfloor preparation.
Should I Leave My Home During Installation?
For many projects, homeowners can remain in portions of the home. However, this depends on the scope of work and access requirements.
How Soon Can Furniture Be Replaced?
The answer depends on the flooring type and installation method. Your installer will provide specific recommendations.
Is Hardwood Worth the Investment?
Many homeowners believe hardwood is one of the most valuable home improvements because of its durability, timeless appearance, and long-term appeal.
See Hardwood Flooring Options Before Installation
Choosing hardwood flooring is easier when you can see products in person.
Many homeowners choose to visit the Chico showroom to compare species, colors, plank sizes, and finishes. Others prefer the convenience of an in-home consultation, allowing them to evaluate samples in their own lighting conditions.
Both options can help you feel confident about your flooring decision before installation begins.
Start Your Hardwood Flooring Project With Confidence
A hardwood flooring installation is an investment that can enhance both the beauty and value of your home. Understanding the process helps reduce uncertainty and allows you to prepare for a smooth and successful project.
Whether you're upgrading a home in Chico, Paradise, Durham, Oroville, Magalia, Orland, Corning, or Forest Ranch, the team at Wood Brothers Carpet can help guide you through every stage of the process.
If you're ready to explore hardwood flooring for your home, you can request a free estimate and speak with a flooring specialist about your project goals and flooring options.